
Here's what you will need, an apple, tooth picks, lemon juice and whole cloves.

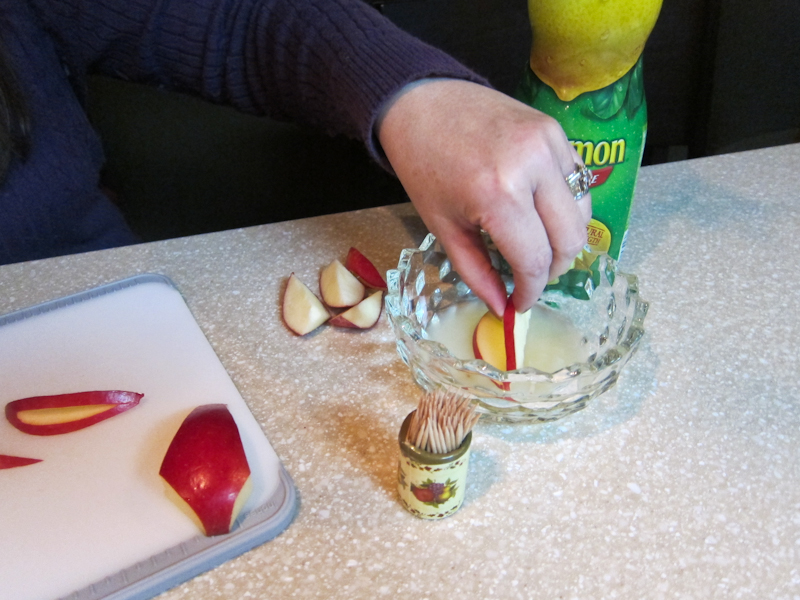
Pour the juice into a small bowl, you will not need very much, just enough to dip pieces in, in order to keep them fresh.

See, just a little in the bottom of the bowl.

You need a small, sharp paring knife.

Cut a piece about a quarter of the apple off, this is going to be the head.


Now cut the head shape out of this piece.

See how the cut should look below.

You may discard the pieces that you have cut away.

The center piece is what you need.

Put it in the lemon juice for a minute so it will stay fresh looking.


Remove the stem if it is still on the apple and discard it.

Now we will begin cutting the tail feathers from the center of the remaining part of the apple.

Cut inward from both sides removing, and keeping, a small crescent.

Now cut just outside of the last cut, about 1/8 to 1/4 inch out, and inward like before, making a "V"

Remove and save

Dip these pieces in the lemon juice as well.


Make the final tail feather cut as before, cutting inward in a long "V".


Gently pull up and out and dip and save
All the tail feathers have now been cut.

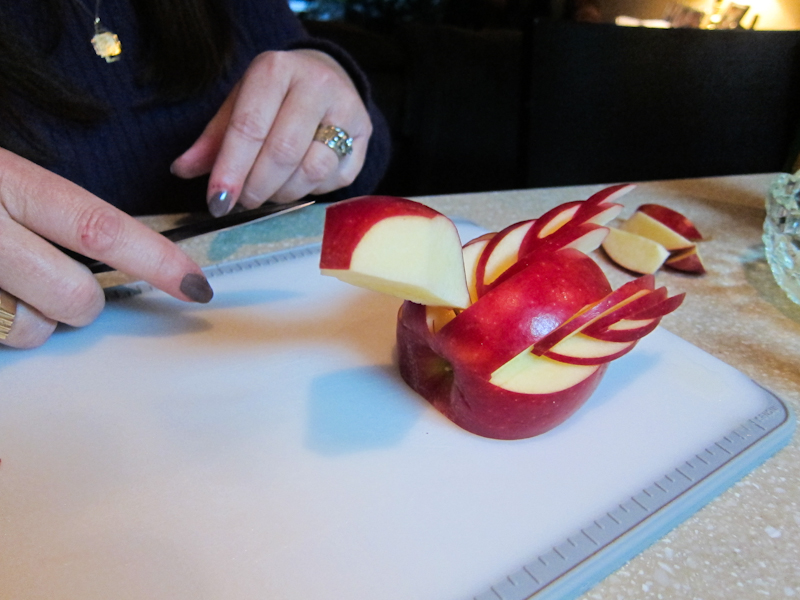
Now we begin the wings, they are cut on each side of the tail feather cut, and done the exact same way.

My first cut broke in half, it doesn't matter, it will fit back in perfectly later, just dip and save.


You can see it is broken, but just keep the sections matched up together for reassembly.

I also broke the the next cut, also doesn't matter, just dip, save and match for reassembly.

Now you can see the cuts for the tail feathers and the first wing are done.

Now I'm going to repeat on the other side.


Voila! Both sides have now been cut, and you can see how it looks. I have keep all the pieces that match together for reassembly.


Now to put the bird together starting with the head.

Insert a toothpick into the base of the "neck", push the toothpick about half way into the "neck".


Now push the toothpick into the front of the bird in the tail feather (center) cut.

Now the bird has a head, it's a bit big, but we can cut it down and size it later.

Tail feather time, here we go, put the wide tail feather in first (it was last out) and about half way back in the center cut.

Next, the middle cut, sliding it down about 1/2 inch on top of the first cut.

Finally, the first tiny sliver about 1/2 inch back from the middle cut.

And now you have the tail.

Here's what it will look like from the top.

Now for the wings, do them the same way you did the tail feathers.


Here's the two pieces that broke, see they will fit in perfectly and stay tight, not to worry.


One wing done, this bird is about to take flight :)

Repeat on the other side.


He's almost done, but the head is too big, so I want to cut it and shape it a bit.
Careful not to cut too much and break the neck.

Much better.

Whole cloves make lovely eyes, I had to use whole pepper corns because I was out of cloves.

Well hello there , here's looking at you!

So cute.

In order to set into a fruit platter, insert two toothpicks into the bottom of the bird.


We are going to give this little guy a grape nest tonight.

And there you have it, he's the hit of the party.


And he was easy to make.


Have fun!

And now you know how to make a cute apple bird. Thanks for joining me!
Adorable Bobbie! :) You make it look so easy!!!
ReplyDeleteJenny Peters
It is soooooo easy, try it next time you have an apple, the kids will love doing it with you! Or watching you make a bird out of an apple in front of their eyes. Thanks for stopping by the blog, hey, you can pin this on pinterest, I put it up there.
ReplyDeleteOh my goodness! Just in time for our Luau! Are you sure you don't want to keep posting tutorials for the next couple of weeks? This is awesome!
ReplyDeleteYay, they'll love it, you can pin it on pinterest, wish you would, love to see this one take off. :)
ReplyDeleteLove it Bobbie! It is so cute, I think I will give it a try next weekend for my sister's birthday!
ReplyDeleteThey will love it, enjoy and thanks for stopping by the blog.
ReplyDeleteBy the way, a huge thanks to my daughter Jean for photographing the process, love you!
ReplyDelete