
This evening a little entry about making fun, fun, fun moments. I LOVE to laugh and to have a few fun tricks up my sleeves when my grandkids or my guests come over. Usually something quick and easy (you know by now that "quick and easy" is my middle name). I find a lot of wonderful projects on pinterest, which is a great "ideas" site that I highly recommend. Other ideas I have picked up from friends and relatives over the years. I rarely reinvent the wheel, with so many creative people out there it's easy to just borrow and enjoy.


I hope you have fun trying these with some of your favorite little people (and big people) and let me know what flavor cake and icing you try!!!! Bon Appetite!
There are so many serious events taking place all around each day, so I find it very important to enjoy a fun moment whenever and with whomever I can. I think it's healthy . . . and well . . . fun. This entry is actually more of tutorial for two fun projects, a lava cake (pampered chef inspired) and fun and colorful surprise drinks (via pinterest). Hoping I can get the pics up here and lead you through both projects! Have fun!!!!!
First the fun colored drinks. Start with paper cups or glasses and food coloring.

Using different colors in each cup, drop one drop of food coloring into the cup and let dry!


Take some ice (I used crushed) and cover the dried drops so the kids don't see them.


Use a clear sparkly drink like gingerale, or sprite or 7 up

And pour over the ice, making sure the kids see what's happening when you pour

They will love seeing what color each other are getting and you'll love their faces!

And now you are a magician . . . at least to that little audience!

On to the lava cake, the kids love this one and so do adults.

I like to get everything out and ready ahead of time, this is a really QUICK fun dessert.


Ready to go! Notice the size platter I'm using, big enough for the "lava" to spread.


Also, the platter has a fairly good size lip, tall enough to contain the "lava".

Just mix the cake as per directions on the box, you can use any flavor of cake.

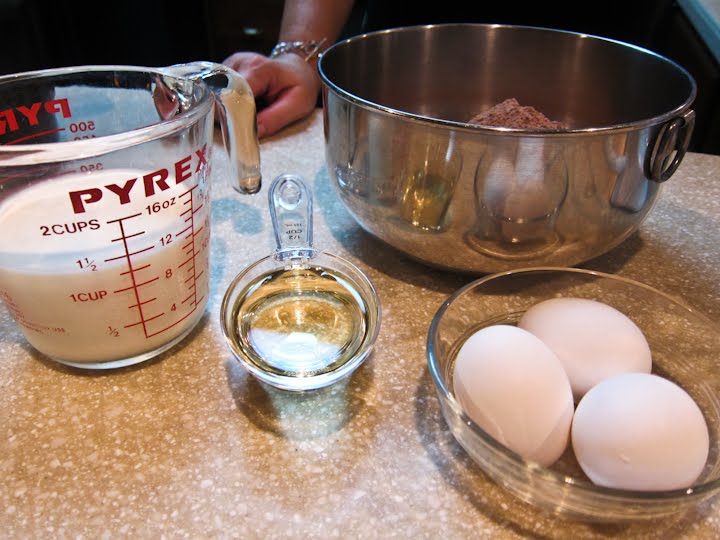
I always use milk instead of water in my cakes, I was taught that years ago in my cake course.


Mix it up!
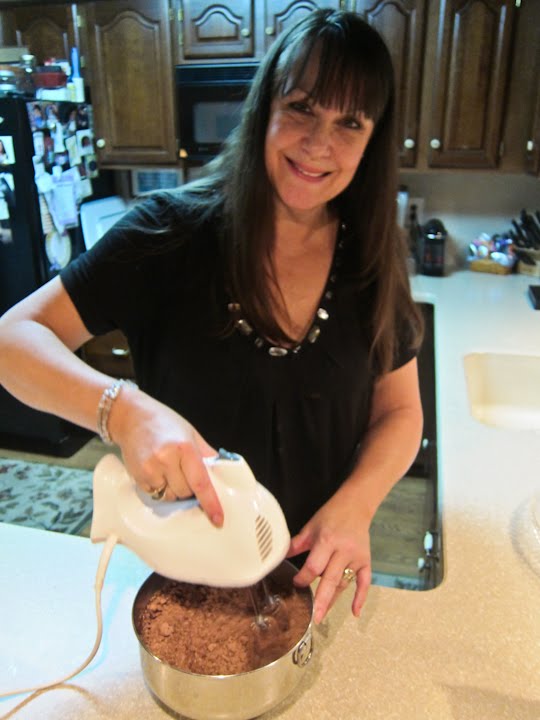
Make sure you have a microwave safe container with a secure (can be tightened on) top.

Pour your batter into the container, I use a Pampered Chef rice cooker.

Open and put a whole can of frosting in the batter! You can use any flavor, I've done lemon cake with lemon icing and here I'm doing chocolate with chocolate, experiment!

Just dump it right in the middle, don't mix it in, just plop it in and leave it.

Put the lid on and fasten it down.

Pop it into the microwave on high power for . .

9 and 1/2 minutes

Remove it from the microwave carefully since it's hot now.

Take the top off! And there's the cake!

Take the platter

and place it over the cake which is still in the container. . . and is HOT!

Invert the container and plate carefully and then get ready for the fun !!!!

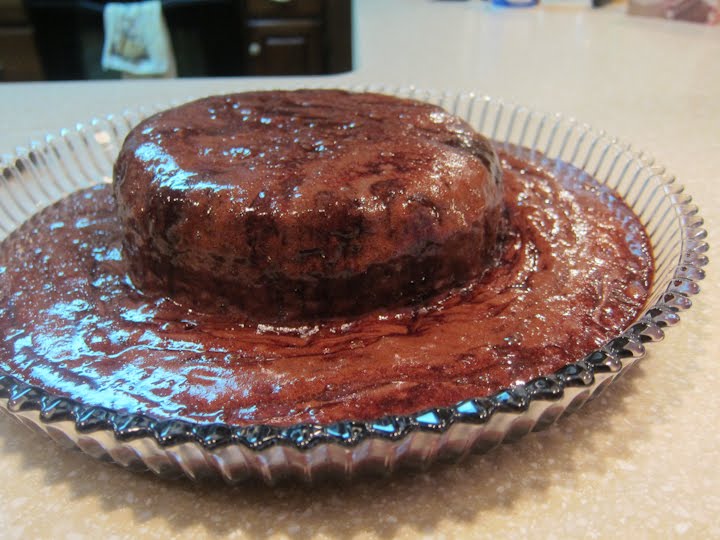
Lift the container off of the cake, it will slide out easily, I use oven mitts to hold the container during this step as the sides of the container will be HOT!

Voila! Yummy hot chocolate cake with warm chocolate sauce!
A little whipped cream . . .

Have the plates and ice cream ready to go so you can enjoy the warm cake with the cold ice cream!

Slice it up and top with the sauce!


Make sure you have some good cold milk ready too!!!!

UMMMMMMMMMMMMM! Yum!

Let's have a taste . . .

Perfect!

I hope you have fun trying these with some of your favorite little people (and big people) and let me know what flavor cake and icing you try!!!! Bon Appetite!
You're making me hungry just reading this. And yes, totally started to salivate as I watched the cake come out of the rice cooker. Magical :)
ReplyDeleteYou'll have to make one Meg!!! wish you lived closer and we could make one together. Thanks for stopping by the blog!!!
ReplyDelete