Saturday, May 26, 2012

A Memorial Day Tribute to Mom and Dad


It’s Memorial Day Weekend, and the Stars and Stripes are flying high.  Friends and family across America are gathering around picnic tables and lighting up the grills.  Kids are excitedly taking their first plunges into chilly, early summer pool water, and then warming shivering bodies wrapped in oversized beach towels and sunlight.  It’s time to welcome summer, time to enjoy a long weekend, and most importantly, time to remember those who gave their lives for their country and others who we have loved and lost.

As I write this I’m thinking about my mother and father.   They both passed away in the summer, my mother seven years ago, my father five years ago, on the same date, July 9th, two years apart.  I still miss them, I keep pictures of them in my Bible, I like looking at their smiling faces when I begin my morning quiet time.  Today I was remembering their hands, funny, but for some reason I started thinking about all that those hands did for me.


My mom had beautiful hands and they were almost always busy.  Her hands were often crocheting, holding a 
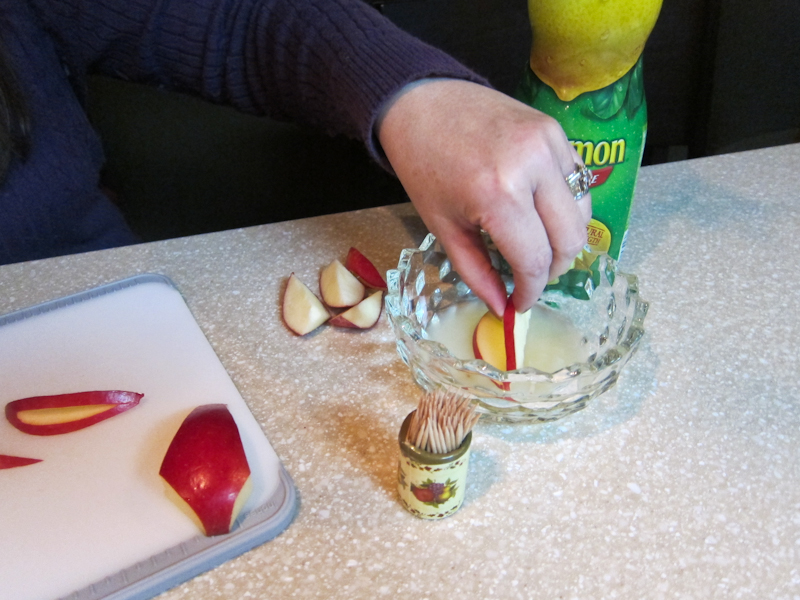
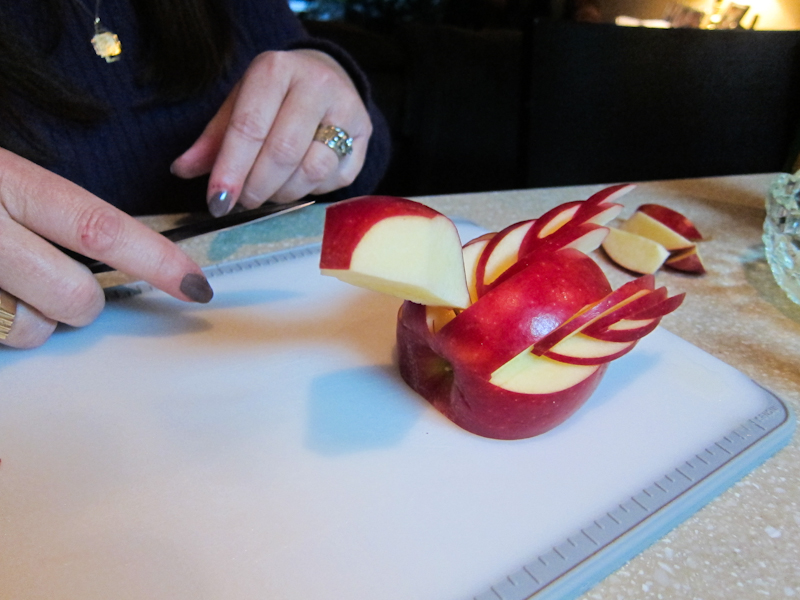
book, cooking (Memorial Day weekend probably stirring homemade chocolate syrup to have served warm over vanilla ice cream), and writing, crafting, gardening, or serving in some way. Her hands could type 120 words per minute and take shorthand, skills that earned her top ranking wherever she worked.  Her hands comforted me when I was injured or sick, patted me when I needed reassurance, and applauded me when I performed or accomplished something.  Her hands held my babies and two of my grandbabies, I wish they could hold all of my grandbabies and her other great grandchildren.  Oh how I love and miss those hands.


My dad had gentleman’s hands; strong, clean, long-fingered hands.  My dad was a thinker, sometimes those hands sat quietly folded in his lap, often on a book or article while he thought.  But those hands weren’t idle hands, they built the calorimeter he designed at Oak Ridge National Laboratory, they wrote reports for Nuclear Regulatory Commission, they gestured when he lectured, and like my mom’s hands they served many others.  His hands steadied me as I learned to ride a bike, jiggled the pan on Sunday nights when he made popcorn, they awed me as he used them to hold test tubes and do Science demonstrations for my elementary school class and my children’s classes too, they held the books he read to me while using funny voices for all the characters, they washed my hair and brushed my teeth when I was a child. His hands penned poetry and lovingly signed carefully chosen birthday and Valentine’s Day cards.  Oh how I love and miss those hands.


I’m looking forward to our extended family cookout this Memorial Day.  There will be three generations celebrating together.  We will enjoy hotdogs and hamburgers from the grill, play yard games, and chat on my sister’s screen porch, the rocking chairs on the porch are coveted seats and are never empty once the weather warms. I’m making a beeline for one of them.  My parents always loved these occasions; they would love seeing all their children, grandchildren, and great grandchildren ages ten years to four weeks old.  I’d gladly give up the rocking chairs to them, if only . . .


Monday, May 7, 2012

My New Book, Holding A Story In My Hands!


Yesterday I had some very special moments.  After years of thinking about, writing, and most recently illustrating a second children’s book, the first print copy arrived on my doorstep.  You might think that was the special moment, but it wasn’t.  I brought the package in, the wrapping was torn off and I sat down holding the book in my hands.  Still, this was not the special moment.  The special moment happened next when my three oldest granddaughters, who were visiting, came and sat by me, and the first reading of the book occurred. 

To have a book idea and pictures floating around in one’s head is fun, but to have that idea on real pages in one’s hand is amazing.  There is just something so satisfying about looking at words and illustrations in a way that can be shared, in print, in color, alive so to speak.  I’m actually thankful that I had over two weeks down time with my broken foot to work on the book. And, I’m very grateful to my friend, Chuck Wasson , for sharing a wonderful iPad application, called Paper53, which allowed me to create the drawings and “paintings” without any mess while couch bound.

My little ones seemed to love the moment too.  The ones who can read each took a turn reading the book aloud to all of us.  My little Nora was able to finish the rhyming words on each page after just a few times listening, she felt like she was “ reading”.  It really was a wonderful moment. It was the moment for which my children’s books have been written, the moment I share the stories with my little ones.


I am also excited to share, “If I Only Had A Penny” with you.  Here is a link to the book, you may preview it, and if you would like an autographed copy let me know and I will send it to you.  If you don’t want it autographed you can purchase it directly from the website. http://www.blurb.com/my/book/detail/3189737   If you purchase from me the prices are slightly less as I buy multiple copies.  Sadly self-published works are expensive, I don't make any profit, but my goal is simply to get the story out there.  Think of the hard cover book as six trips to Starbucks (and you’ll always have the book, whereas the coffee will be gone once you drain the cup) and the soft cover book is the cost of a few less cups of Joe.

Please check it out and let me know what you think of my new “baby”.  I'd give a penny for your thoughts!

P.S.  Here is the link to my first book, "The Moon, The Star, and The Firefly" if you haven't seen that one yet, also available through me or the website.  http://www.blurb.com/my/book/detail/1152367


Saturday, April 28, 2012

How To Make An Apple Bird!

Since I have broken my foot, I thought now would be a good time to do a tutorial.  Years ago I learned how to make apple birds and they have graced many fruit platters at parties since then.  They are easy to make and add some fun to the table, so please enjoy the tutorial and have fun making your next party table an even bigger hit!
 Here's what you will need, an apple, tooth picks, lemon juice and whole cloves.
 Pour the juice into a small bowl, you will not need very much, just enough to dip pieces in, in order to keep them fresh.
 See, just a little in the bottom of the bowl.
 You need a small, sharp paring knife.
 Cut a piece about a quarter of the apple off, this is going to be the head.

 Now cut the head shape out of this piece.
 See how the cut should look below.
You may discard the pieces that you have cut away. 
 The center piece is what you need.
 Put it in the lemon juice for a minute so it will stay fresh looking.

 Remove the stem if it is still on the apple and discard it.
 Now we will begin cutting the tail feathers from the center of the remaining part of the apple.
 Cut inward from both sides removing, and keeping, a small crescent.
 Now cut just outside of the last cut, about 1/8 to 1/4 inch out, and inward like before, making a "V"
 Remove and save
 Dip these pieces in the lemon juice as well.

 Make the final tail feather cut as before, cutting inward in a long "V".


 Gently pull up and out and dip and save
 All the tail feathers have now been cut.
 Now we begin the wings, they are cut on each side of the tail feather cut, and done the exact same way.
 My first cut broke in half, it doesn't matter, it will fit back in perfectly later, just dip and save.

 You can see it is broken, but just keep the sections matched up together for reassembly.
 I also broke the the next cut, also doesn't matter, just dip, save and match for reassembly.
 Now you can see the cuts for the tail feathers and the first wing are done.
 Now I'm going to repeat on the other side.

 Voila!  Both sides have now been cut, and you can see how it looks. I have keep all the pieces that match together for reassembly.

 Now to put the bird together starting with the head.
 Insert a toothpick into the base of the "neck", push the toothpick about half way into the "neck".

 Now push the toothpick into the front of the bird in the tail feather (center) cut.
 Now the bird has a head, it's a bit big, but we can cut it down and size it later.
 Tail feather time, here we go, put the wide tail feather in first (it was last out) and about half way back in the center cut.
 Next, the middle cut, sliding it down about 1/2 inch on top of the first cut.
 Finally, the first tiny sliver about 1/2 inch back from the middle cut.
 And now you have the tail.
 Here's what it will look like from the top.
 Now for the wings, do them the same way you did the tail feathers.

 Here's the two pieces that broke, see they will fit in perfectly and stay tight, not to worry.


 One wing done, this bird is about to take flight :)
 Repeat on the other side.

 He's almost done, but the head is too big, so I want to cut it and shape it a bit.
 Careful not to cut too much and break the neck.
 Much better.
 Whole cloves make lovely eyes, I had to use whole pepper corns because I was out of cloves.
 Well hello there , here's looking at you!
 So cute.
 In order to set into a fruit platter, insert two toothpicks into the bottom of the bird.

 We are going to give this little guy a grape nest tonight.
 And there you have it, he's the hit of the party.

 And he was easy to make.


 Have fun!
And now you know how to make a cute apple bird.  Thanks for joining me!